Seeing a hummingbird hover near your flowers is pure magic—and once you know what to do, it’s surprisingly doable.
These tiny birds need a steady supply of energy (nectar) and safe places to land and feed. When I set up my yard the right way, I get more visits, more confidence from the birds, and longer feeding sessions. You don’t have to do anything complicated either: a few nectar-friendly plants, a properly placed feeder, and correctly made nectar make a big difference. In this guide, I’ll walk you through a step-by-step plan so you can turn your yard into a hummingbird stopover. Let’s get those wings buzzing.
Key Takeaways
- The best results come from combining nectar-rich flowers (especially native plants) with a correctly placed feeder.
- Make nectar with a simple sugar-water ratio (about one-quarter to one-third sugar by volume) and avoid dye/coloring.
- Place feeders in shade, away from windows and busy areas, and near trees so hummingbirds can perch nearby.
- Keep nectar fresh by batch-making it and rotating on a practical schedule (many sources note prepared nectar can keep up to about two weeks in proper storage, but you should still replace promptly if it looks cloudy).
- Hummingbirds are territorial, so nearby perches and smart feeder placement help them feel secure.
Quick Answer
To attract hummingbirds, I plant native nectar-rich flowers and add one or more feeders filled with plain sugar-water nectar (about 1 part sugar to 3–4 parts water by volume). Then I place feeders in the shade, away from windows and high-activity areas, and near trees so hummingbirds can perch and defend their feeding area.
What You Need
| Item | Purpose | Notes |
|---|---|---|
| Native, nectar-rich flowering plants (local to your area) | Provide natural nectar and attract hummingbird-friendly pollinators | Choose varieties that bloom repeatedly through the season when possible |
| Hummingbird feeder(s) | Makes nectar easy to find and feed from | Use one or more feeders depending on yard size and hummingbird activity |
| Refined white sugar | Main ingredient for nectar | Do not use honey, artificial sweeteners, or substitutes |
| Water | Mix with sugar to mimic natural nectar concentration | Use clean water; follow the sugar-to-water ratio |
| Pot + spoon (or stirrer) | For making nectar safely | Heat helps dissolve sugar |
| Airtight container (for batch storage) | Stores prepared nectar between refills | Many sources note prepared nectar can be kept for up to ~two weeks when stored properly |
| Bucket/towel or gloves | For quick cleanups and safer handling | Helps during refills and in hot weather |
| Pruning/planting tools (optional) | For adding or adjusting nectar plants | Helps you improve bloom coverage and placement |
Step 1: Plan your “nectar + perch” setup
Before I bought anything, I asked myself one question: where will hummingbirds get food, and where will they rest?
Hummingbirds mainly need:
- Energy from nectar (from flowers and/or feeders)
- Nearby perching spots (often trees or shrubs) so they can pause and watch for competition
When I build both parts into my yard, visits increase because the birds feel like they’ve found a safe feeding area.
Step 2: Choose nectar sources—plant native flowers first
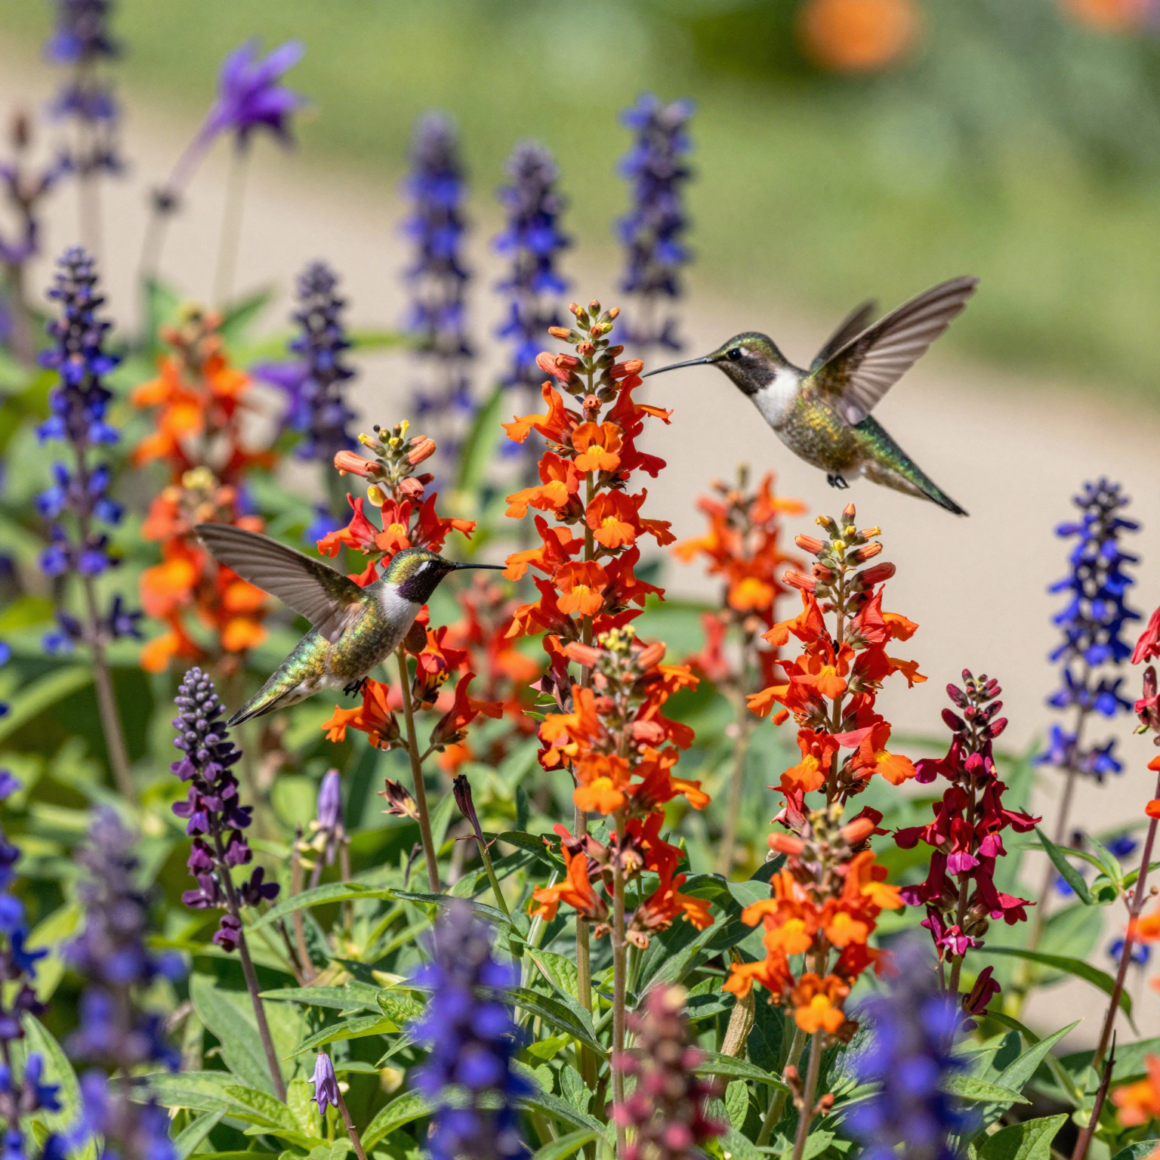
If you only do one thing, I’d do this: I start with native plants that naturally grow where I live. Native flowers tend to produce the nectar hummingbirds look for, and they also support the other small life hummingbirds depend on (including insects and spiders that show up around native habitats).
To make my yard work harder, I try to pick plants that:
- Bloom often
- Bloom across different parts of the season
- Produce lots of nectar
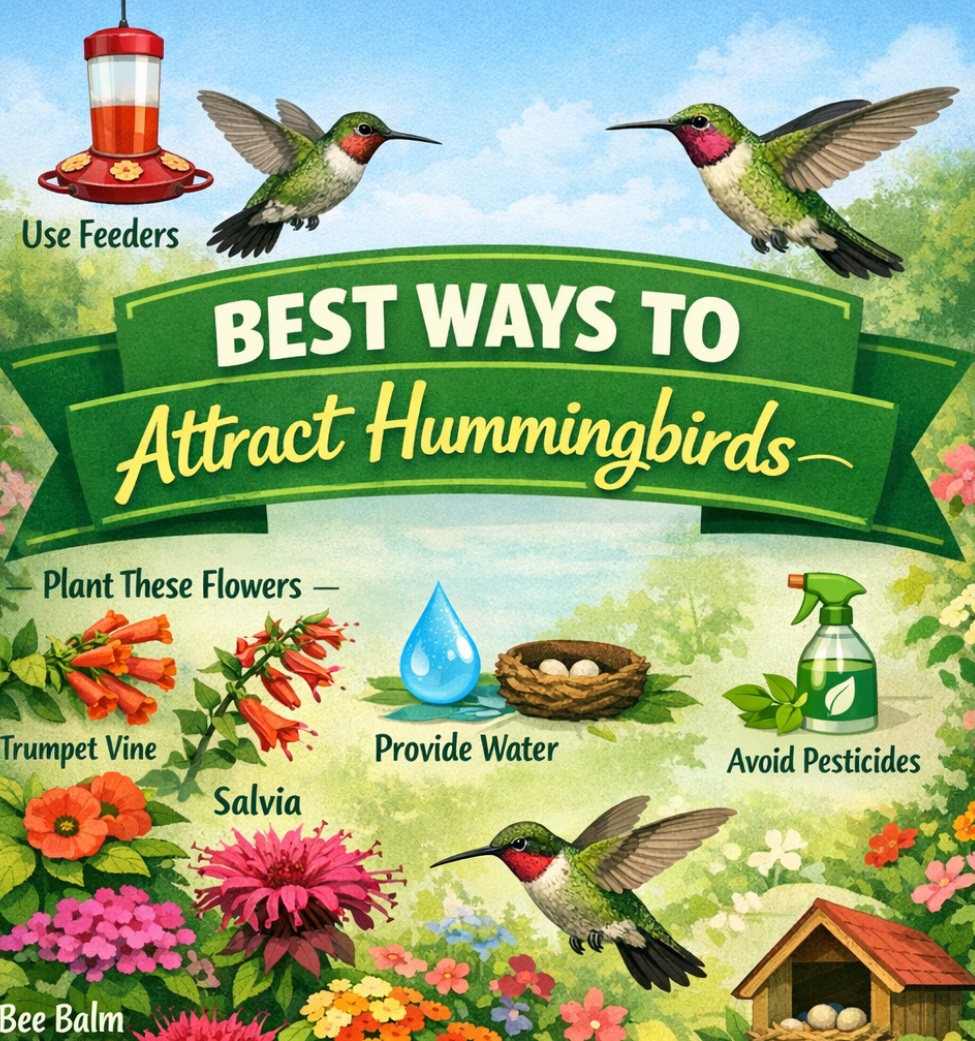
Some commonly recommended nectar-rich plants (depending on your region) include things like bee balm, salvias, trumpet honeysuckle, weigela, bleeding heart, and other nectar-heavy options. The exact best picks vary by location, but the strategy is the same: choose local native species or well-adapted nectar plants that fit your climate.
Practical move: I map out a few planting areas (front bed, side yard, near a patio) and focus on getting repeated blooms close to where I want feeders.
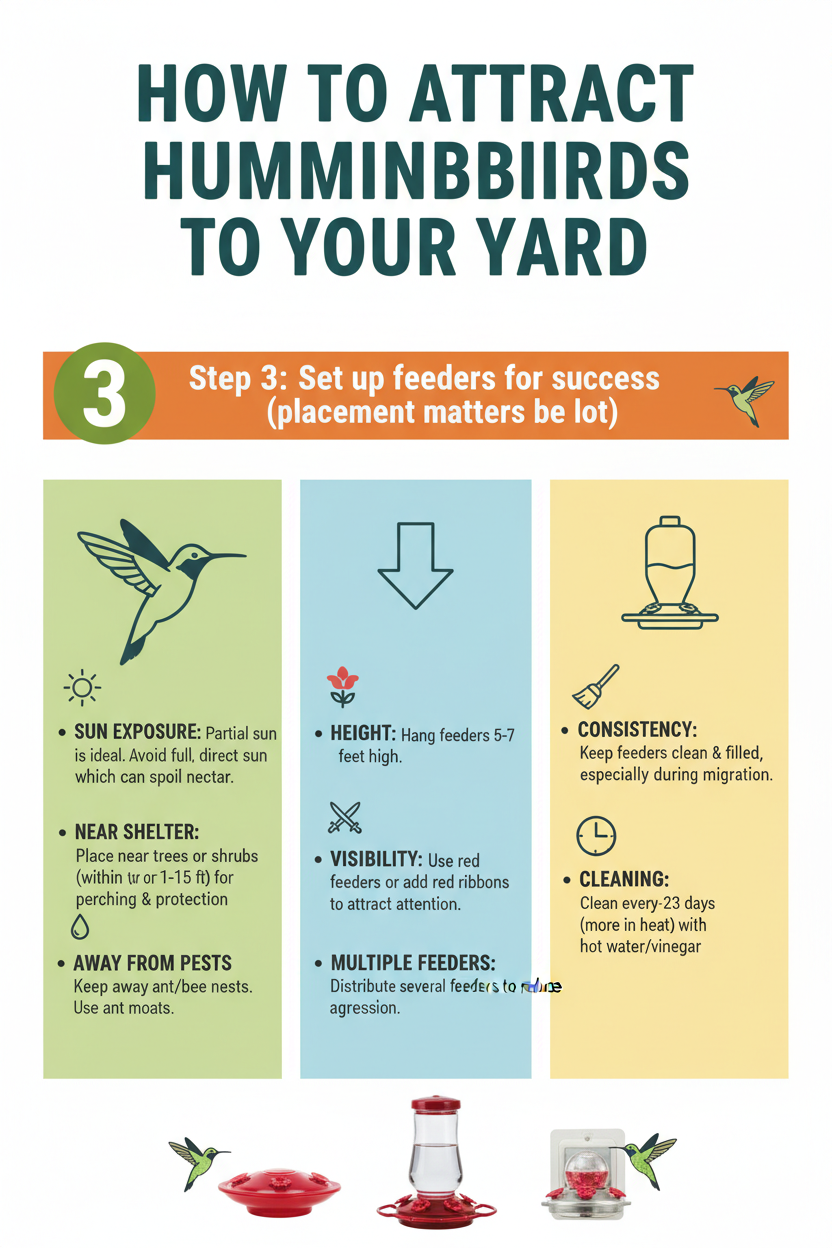
Step 3: Set up feeders for success (placement matters a lot)
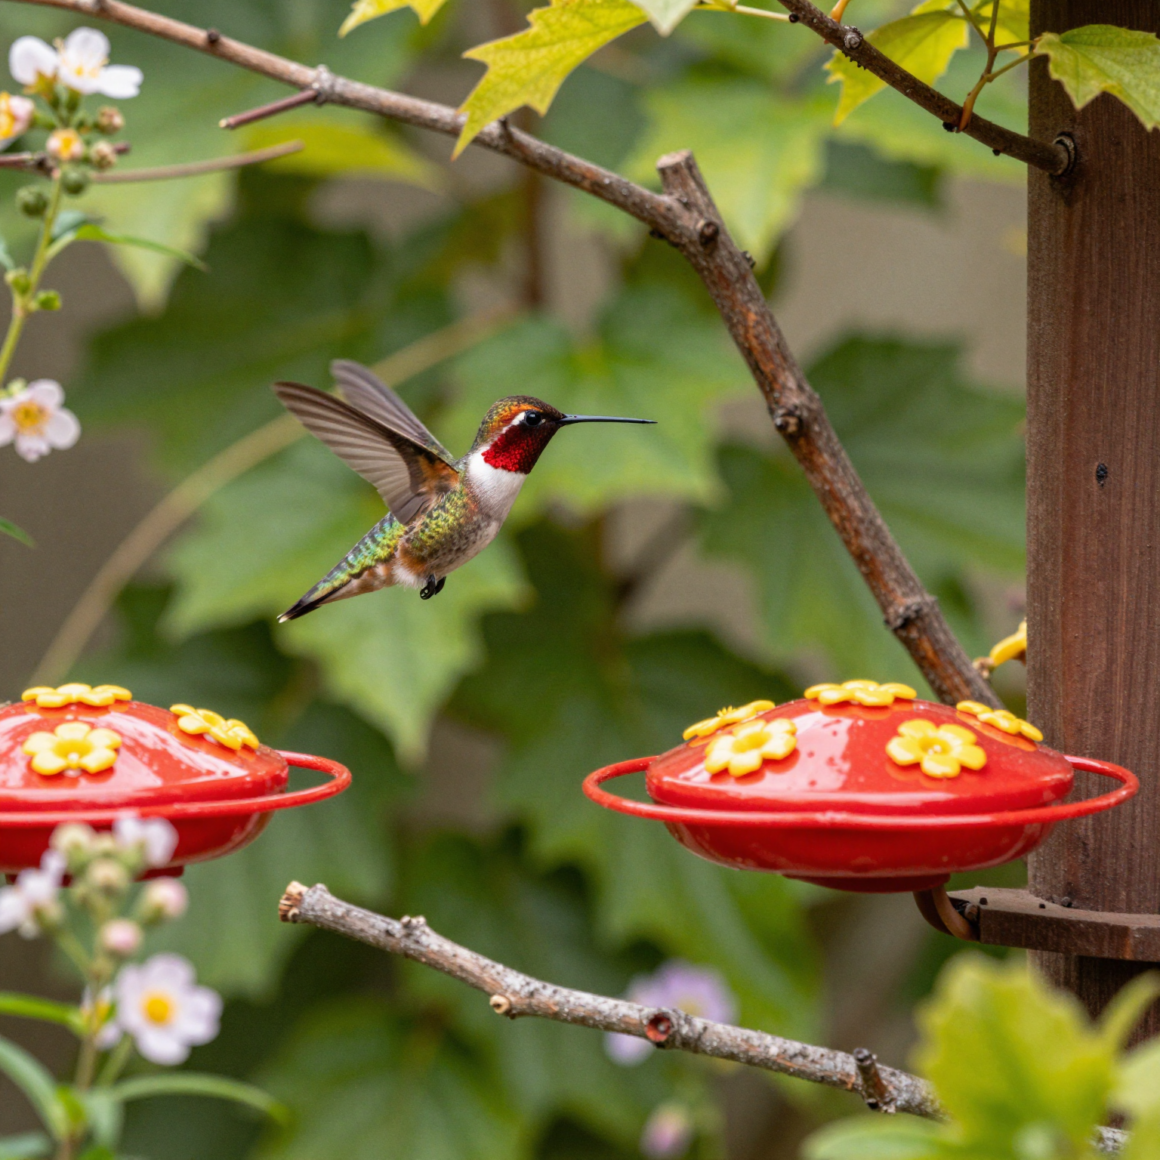
Even if I have great plants, I still like to add feeders because they create a reliable “buffet sign.”
Here’s how I place them for best results:
## Step 3A: Put feeders in shade
I position my feeder where it gets shade, especially during hot afternoons. Shade helps keep nectar fresher longer and makes the feeding area more comfortable.
## Step 3B: Avoid windows and high-traffic areas
I keep feeders away from windows and busy spots where lots of people or pets pass by. Hummingbirds startle easily, and busy areas make them less likely to linger.
## Step 3C: Position near trees (so they can perch)
Hummingbirds are territorial. In real life, that often means they like a nearby spot to perch and defend their feeding area. I place feeders near trees or sturdy shrubs where they can hang out and chase off intruders from a nearby viewpoint.
If I want more activity, I treat tree-perch proximity like part of my “setup,” not an afterthought.
Step 4: Make hummingbird nectar with the right sugar-water ratio
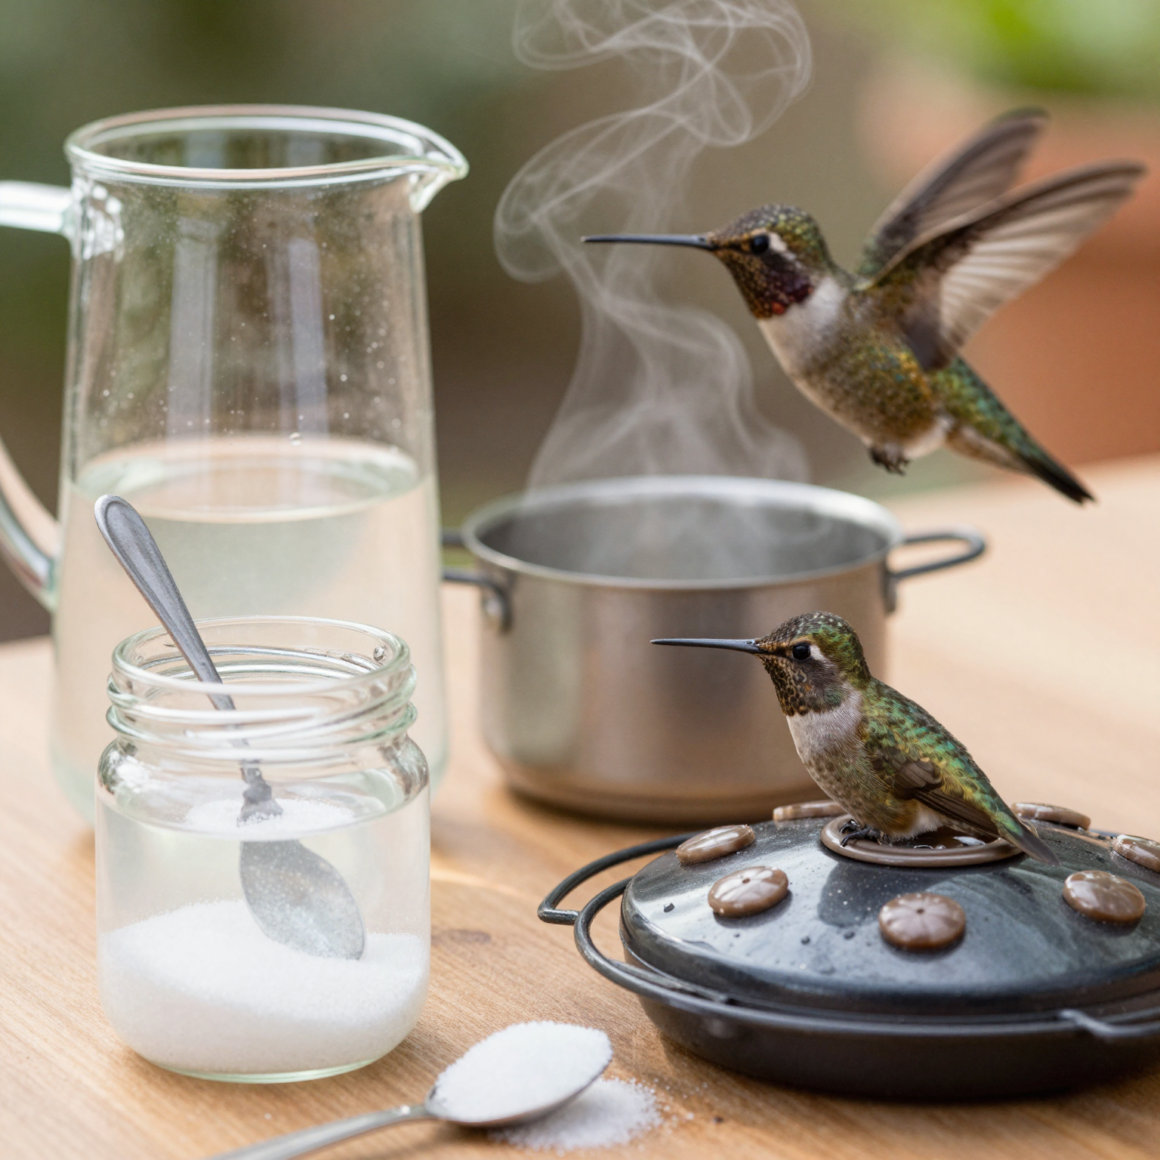
Now the most important part: nectar. I keep it simple and avoid additives.
## Step 4A: Use plain sugar-water (no dye, no extras)
A common guideline is nectar concentration about one-quarter to one-third sugar by volume. That means the sugar is roughly comparable to natural flower nectar.
In a practical way, I use one of these approaches:
- 1 part sugar : 4 parts water (about 1/4 sugar by volume)
- 1 part sugar : 3 parts water (about 1/3 sugar by volume)
Either range can work well; I typically choose the 1:4 style if I’m aiming for a slightly lighter mix.
## Step 4B: What ingredients to use
I only use:
- Refined white sugar
- Water
I do not add:
- Red dye or food coloring
- Honey
- Artificial sweeteners
- Any thickeners or flavorings
Red dye is not necessary for hummingbirds, and some sources warn it can be harmful. Plain is best.
## Step 4C: Heat to dissolve the sugar
I combine sugar and water in a pot, bring it to a simmer, and stir until the sugar dissolves. Then I let it cool before filling the feeder.
Step 5: Batch nectar and store it safely
To save time, I batch-make nectar instead of mixing a small amount every day.
## Step 5A: Make larger batches
If I have more than one feeder (or I’m refilling regularly), batch-making is a lifesaver. I make enough for a few fills, so I’m not stuck doing it constantly.
## Step 5B: Store in an airtight container
I store cooled nectar in an airtight container so it stays fresh. One source notes prepared nectar can be kept for up to about two weeks when stored properly, but I still check it and replace it sooner if conditions are hot, it smells off, or it looks cloudy.
## Step 5C: Rotate on a schedule I can trust
I choose a simple refilling routine that works for my weather. In warm weather, I refill more often. The goal is clean, fresh nectar so hummingbirds keep returning.
Step 6: Avoid common mistakes that quietly lower visits
When hummingbirds don’t show up, it’s often because of one small thing. These are the most common issues I see:
## Step 6A: Don’t add red dye or coloring
This is a big one. Hummingbirds are drawn by the nectar itself and by how the feeder works. Dye isn’t necessary and could be harmful. I keep my nectar plain.
## Step 6B: Don’t rely on nectar alone
Even with great feeders, hummingbirds still benefit from nectar-producing plants. Flower blooms add variety, help during peak seasons, and support consistent visiting.
In my yard, feeder visits jump most when plants and feeders work together.
## Step 6C: Don’t place feeders where they can’t feel safe
If the feeder is too exposed, too close to a window, or in a chaotic area, the birds may avoid it. I always revisit placement first before changing anything else.
Step 7: Keep your yard hummingbird-ready all season
Attracting hummingbirds isn’t a one-day project. Once they find your yard, you’ll want to keep things steady.
## Step 7A: Provide nectar from both flowers and feeders
I don’t let the system go “all or nothing.” I keep feeders filled and also maintain bloom plants so there’s always something flowering nearby.
## Step 7B: Refresh feeder nectar regularly
I stick to my refill schedule and clean the feeder periodically. Clean feeders reduce spoilage and keep nectar from getting cloudy.
## Step 7C: Keep perching spots nearby
I make sure trees or shrubs remain available near the feeder. When hummingbirds have a place to rest and defend, they’re more likely to keep coming back.
Step 8: Watch, adjust, and expand when you see consistent interest
Once you start, observation is your secret tool. I watch where visits happen and then I tweak based on what the birds are telling me.
## Step 8A: Observe which locations get visits
I look for patterns:
- Are they hovering near one feeder but ignoring another?
- Are they feeding only during certain times of day?
- Are they avoiding a particular spot?
That helps me figure out what’s working: shade, perch proximity, or flower coverage.
## Step 8B: If activity is low, start with placement and plants
When I don’t get much action, I don’t panic-buy. I usually check:
- Is the feeder in shade?
- Is it too near a window or a busy path?
- Is it far from a tree perch?
- Am I missing nectar-rich plants that bloom around the same time?
Then I make targeted changes.
## Step 8C: Scale up gradually
If I’m seeing hummingbirds regularly, I scale up with either:
- A second feeder closer to another planting area
- More nectar-rich plants to extend bloom season
Because hummingbirds are territorial, I also think about spacing so new feeders don’t create constant fighting. Often, multiple locations with nearby perches work better than trying to force everything into one tiny spot.
Tips
- Choose plants that bloom at different times so you get hummingbirds longer, not just a short burst.
- Place feeders where you’ll enjoy watching, but keep them away from windows and high-activity areas.
- If you’re changing nectar types or ratios, do it gradually and watch results—hummingbirds usually respond quickly to a dependable setup.
- Keep an eye on hot weather days: in high heat, I refill more often to prevent spoilage.
- Start simple (one feeder + a few nectar plants). Once you see steady visits, expand.
FAQ
What is the best sugar-to-water ratio for hummingbird nectar?
A common recommended range is about one-quarter to one-third sugar by volume. That’s roughly:
- 1 part sugar to 4 parts water (about 1/4 sugar), or
- 1 part sugar to 3 parts water (about 1/3 sugar)
Do I need to add red dye or coloring to attract hummingbirds?
No. Red dye isn’t necessary to attract hummingbirds and could be harmful. I use plain nectar—only sugar and water.
Where should I place my hummingbird feeder?
I place it in shade, away from windows and busy areas, and near trees or shrubs where hummingbirds can perch and defend their feeding spot.
How often should I change the nectar?
I change nectar on a schedule that fits my weather. In warmer conditions, I refill more often. I also replace nectar quickly if it looks cloudy or the feeder needs cleaning.
Can I mix nectar in batches and store it?
Yes. Many sources note prepared nectar can be stored in an airtight container for up to about two weeks if kept properly. I still check quality and replace sooner if anything seems off.
Will hummingbirds still come if I only use feeders and no plants?
They might, but I generally get better, more consistent results when I combine feeders with nectar-rich flowering plants—especially native plants.
Conclusion
Attracting hummingbirds is one of those “small effort, big joy” projects. Once I focus on nectar and safety—native flowers that feed them naturally, feeders placed in shade near perches, and plain sugar-water nectar made with the right ratio—hummingbirds usually find my yard fast and keep returning. Start with the basics, watch what works, then adjust and expand when you see consistent visits. If you set it up thoughtfully, you’ll soon have those tiny hovering wonders lighting up your days.

Samuel Michael
I've have been involved in Backyard Farm for over 15 years, especially livestock and market gardening. I blog at my free Time and ive My most helpful thoughts on this blog.

