Fresh herbs at home feel like a cheat code, and it’s easier than you think. A small herb garden can upgrade your cooking, your routines, and even your mood—especially when you pick the right herbs and set them up correctly from day one. Herbs are also surprisingly beginner-friendly because you can start small, grow them indoors or outdoors, and learn as you go without needing a huge yard. Most importantly, herbs don’t all want the same thing—so once you understand the basics of light, watering, and herb-specific needs, you’ll avoid the most common beginner mistakes. If you follow the steps below, you’ll build confidence quickly and get a steady supply of usable leaves and flavors.
Key Takeaways
- Start by matching your growing setup (indoor, outdoor, or both) with the herbs you want to grow.
- Pick a small set of common culinary herbs first, so you learn their needs without getting overwhelmed.
- Use the right container or bed setup with good drainage and simple labeling so you can track what’s working.
- When starting from cuttings or young starts, keep them warm and give strong light without scorching them.
- Watering is all about consistency: don’t let young plants dry out, but also don’t keep them soggy.
- Maintain your garden with a gentle routine and harvest regularly to keep plants producing.
Quick Answer
To start a beginner herb garden, choose a sunny location (or add grow lights indoors), pick a small group of common culinary herbs, use containers or a raised bed with good drainage, and plant with simple labeling. For cuttings or young starts, prioritize warmth and good light while protecting them from drying out and scorching direct sun. Then keep a steady routine for light, temperature, and watering, and harvest often but gently.
What You Need
| Item | Purpose | Notes |
|---|---|---|
| Seeds or young herb starts (beginner set) | Start your plants | Choose a small set of common culinary herbs first |
| Pots, planters, or a raised bed | Give your herbs space to grow | Containers work great for indoor windows or small patios |
| Potting mix (or quality soil for beds) | Support healthy roots | Focus on well-draining mix rather than heavy garden soil |
| Drainage setup (holes in containers) | Prevent root problems | If a pot has no holes, your herbs struggle |
| Small watering can or spray bottle | Water young plants carefully | A spray bottle helps when plants are tiny |
| Labels and a marker | Track herbs and care needs | Label right after planting |
| Placement for light (window or grow lights) | Help herbs establish | Provide strong light, but avoid scorching young plants |
| Optional: mulch or a light top-dressing | Reduce drying | Use sparingly so you don’t smother soil |
| Optional: a fan (indoor) | Improve airflow | Not required, but helpful in very still rooms |
Step 1: Choose Your Growing Location (Indoor, Outdoor, or Both)

Before you buy anything, decide where your herbs will live. This single choice controls how much light you can give, how easy watering will be, and whether temperature swings will stress your plants.
Indoor: windowsills and light support
If you’re growing indoors, a bright window is your starting line. Still, keep in mind that many herbs need strong light to grow well. If your window isn’t reliably bright, plan on using artificial illumination (like grow lights) so your plants don’t get “leggy” or slow.
A practical approach: set up the location first, then choose herbs that fit it. Indoor gardens are perfect for beginners because you can check plants daily without fighting weather.
Outdoor: picking a sunny spot
Outdoor herbs usually do best where they get plenty of sun. Choose a spot you’ll actually access often. If you only check the garden once a week, you’ll miss early signs that a plant is drying out.
Also, think about convenience. A beginner herb garden works best when it’s close to the door you walk through most.
A simple year-round strategy
If you want year-round herbs, combine indoor and outdoor growing. Start with an outdoor setup during the warmer months, then bring a few pots indoors when weather changes. That way, you keep your momentum instead of restarting from scratch every season.
Step 2: Pick the Right Herbs to Start
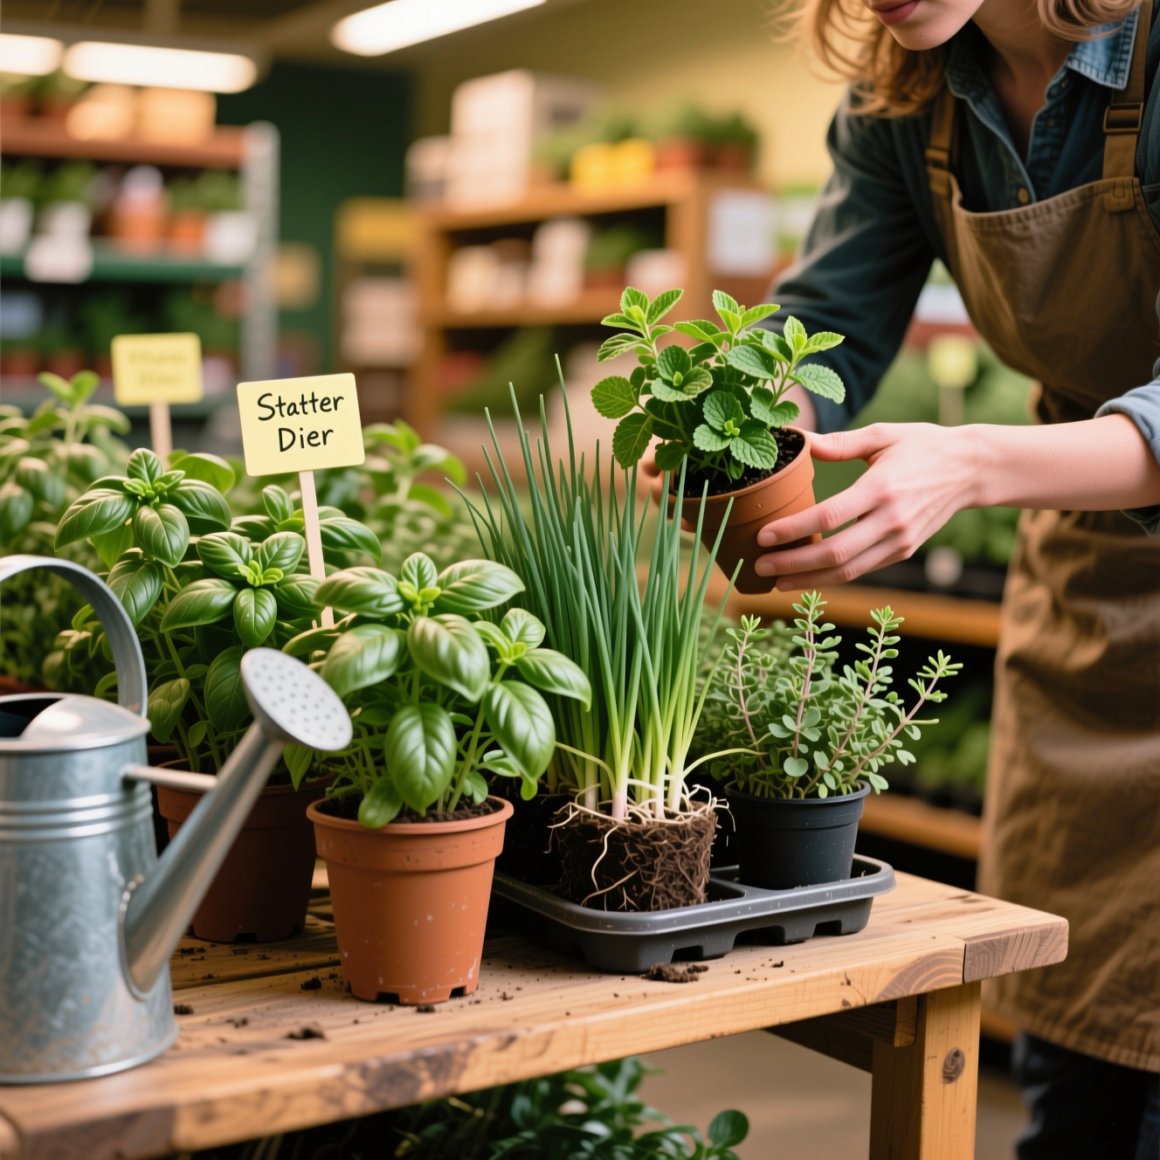
Now comes the fun part: choosing what to grow. The best beginner herb garden starts with herbs you’ll use often.
Start with common culinary herbs
Pick herbs that match your real kitchen habits. For example, if you love cooking with fresh flavor, choose a small “starter group” of popular kitchen herbs rather than many random varieties.
A key beginner move: start with fewer herbs than you think you want. When your plants are few, it’s easier to learn their needs, spot problems early, and adjust your care without guessing.
Learn herb-specific needs (this matters)
One reason beginners struggle is that they treat all herbs the same. They shouldn’t. Herbs can differ in their needs, so it helps to learn each herb’s particular requirements before you buy or plant.
A method that keeps things clear: think in plant families. When you understand what a herb “belongs to,” you get better at predicting how it will respond to light and watering. (It’s also a great way to avoid buying herbs that don’t suit your conditions.)
Recommended beginner plan: small and flexible
Aim for a manageable set—enough that you can experiment, not so many that you’re constantly confused. I like to begin with herbs that are forgiving and widely grown, then expand after I’ve seen what thrives where I live.
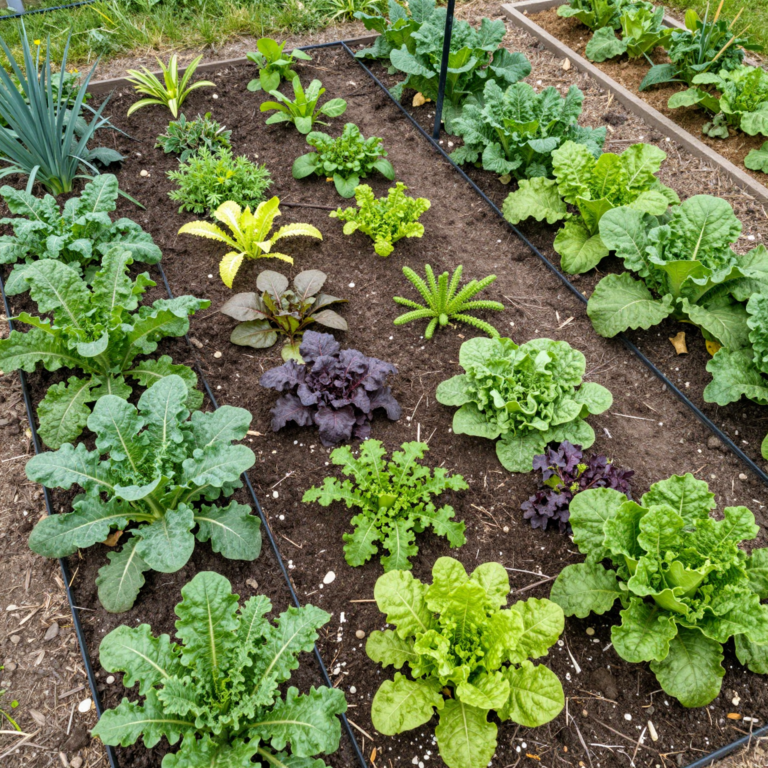
Step 3: Gather Supplies and Set Up Containers/Beds

Once your location and herbs are chosen, set up your growing space so plants start strong. Good setup prevents many common problems before they start.
Containers versus garden beds
Containers are ideal for beginners because they’re portable and easier to control. You can move pots closer to a window, away from harsh sun, or under grow lights.
Garden beds work too, but you need to make sure the soil drains well. If drainage is poor, roots can struggle. If you’re unsure, containers are the safest first step.
Soil and drainage: keep it simple
Use a quality potting mix for containers. For beds, you want soil that drains well and won’t stay waterlogged. The goal is steady moisture without soggy roots.
Label plants right away
Labeling sounds small, but it saves you later. When herbs look similar at first, labels help you learn what each plant needs. This also makes troubleshooting much faster.
Plan spacing
Even in small pots, herbs need space for airflow and root growth. Follow seed packet guidance when possible, and avoid overcrowding. Overcrowding can make plants more prone to stress.
Step 4: Planting Basics (Seeds, Starts, or Cuttings)

Herbs can be grown from seeds, young starts, or cuttings. Your method affects how you care for plants during the first days.
If you’re using young starts
Young starts are great for beginners because they shorten the timeline. Plant them at the right depth for the container or bed, water in gently, and place them where they can get good light right away.
If you’re using cuttings
Cuttings need extra attention while they establish. Research-based beginner guidance from university extension resources highlights that planted cuttings should be kept in a warm location with good sun exposure (or artificial illumination). Just as important: don’t let cuttings dry out, and avoid scorched leaves from direct sunlight.
In plain terms, treat cuttings like “new babies” of your herb garden: warmth, light, and gentle moisture consistency.
Protect from drying out and scorching
Two problems that show up quickly for beginners are drying out and scorching. To reduce risk:
- Keep soil slightly moist (especially early on).
- Provide strong light, but avoid sudden exposure to blazing sun when plants are still adjusting.
Water in after planting
After planting, water carefully so soil settles around roots. Then watch how fast the soil dries. Your climate and container size will decide the watering rhythm.
Step 5: Light, Temperature, and Watering for Healthy Growth

Light, warmth, and watering are the “big three” for herb success. Get these right and most other problems become easier to fix.
Light: aim for strong exposure, not stress
For indoor herbs, keep them close to the brightest window you have or use grow lights to supplement. For outdoor herbs, sun is helpful, but very intense direct sun can scorch tender new growth.
If you’re growing cuttings or very young plants, be extra careful. Extension guidance specifically emphasizes warm locations with good sun exposure or artificial illumination, while also warning not to allow plants to dry out or be scorched by direct sunlight.
Temperature: warmth helps establishment
Herbs typically establish better when they’re not thrown into cold, drafty conditions. If you bring plants indoors, avoid placing them right next to a door that opens all day or in a place with frequent temperature swings.
Watering: consistency beats extremes
Watering rules that work for most beginners:
- Don’t let young plants dry out.
- Don’t drown plants either.
- Check soil moisture before watering, especially for container herbs.
A good habit: touch the top layer of soil. If it feels dry near the surface, water gently. If it still feels damp, wait. This prevents overwatering, which can cause slow decline.
Sun protection without losing light
If leaves look stressed in intense sun, adjust placement gradually. For example, move pots slightly so they still get bright light but not full midday scorch. Indoor growers can do something similar by moving the plant a few inches farther from the brightest window glass until it toughens up.
Step 6: Ongoing Care and Maintenance

Now that your plants are started, your job is mostly to monitor and respond. Think of it like a simple check-in routine.
Use a beginner-friendly weekly rhythm
Try this simple cadence:
- Check your plants for color and growth once or twice a week.
- Inspect soil moisture and water when it’s needed.
- Adjust light placement if growth looks slow or stretched.
Focus on herb-specific needs
Even within herbs, care can differ. So instead of using one routine for all plants, tailor what you do based on how each herb responds. That might mean:
- More or less frequent watering for different herbs
- More shade for tender starts
- More light for herbs that seem slow
A beginner-friendly workflow is to learn each herb’s “personality” gradually. Start with what you notice, then refine based on that herb’s needs.
Gentle harvesting encourages growth
Harvesting is not just for using herbs—it’s part of good care. When you harvest correctly, you encourage fresh growth instead of letting plants get unruly.
A gentle harvesting style:
- Snip small amounts regularly rather than taking everything at once.
- Harvest from the tops and outer parts first when possible.
- Avoid stripping the plant bare.
Step 7: Harvesting and Using Your Herbs
Harvesting is the payoff. It also keeps plants productive, so you get a reliable cycle instead of a one-time harvest.
Harvest timing basics
As a rule of thumb, harvest once plants are established and producing plenty of leaves. Waiting too long can lead to more woody growth and less tender leaves.
Also, harvest when plants look healthy and full. If you’re unsure, take a small test harvest from a few stems and observe how the plant responds over the next week.
Keep harvesting consistent
Regular harvesting supports ongoing growth. If you only harvest once in a while, the plant may slow down or prioritize getting taller instead of staying leafy.
Simple beginner ways to use herbs
Since your goal is a beginner herb garden for everyday life, keep usage simple. Here are easy ways to start:
- Chop fresh leaves onto meals you already make
- Add herbs to soups and stews during the last few minutes of cooking
- Mix chopped herbs into simple dressings with olive oil and vinegar
- Make a quick herb garnish for flavor and color
- Dry a small amount later if you have more than you can use right away
If you grow the herbs you actually cook with, your garden will feel useful immediately.
Step 8: Troubleshooting Common Beginner Problems
Even with good care, beginners run into issues. The good news: most herb problems trace back to a few basics.
Problem: plants look weak or stop growing
Common causes:
- Not enough light
- Wrong temperature range
- Water stress from drying out or overwatering
What to do:
- Move plants to brighter light or add artificial illumination indoors
- Check moisture before watering
- Review whether the herb’s needs match your conditions
Problem: scorched leaves or stress from too much sun
This usually happens with young plants that are suddenly exposed to harsh direct sun.
What to do:
- Reduce direct exposure temporarily
- Increase light gradually
- Protect cuttings and tender growth until they toughen up
University extension guidance for herb gardening beginners emphasizes avoiding scorched conditions for cuttings and keeping them from drying out while still giving good light.
Problem: soil dries out fast (especially in containers)
Containers can dry quickly, particularly in sunny spots.
What to do:
- Water more consistently
- Check soil moisture more often during hot weather
- Use a slightly larger pot if you can, since bigger soil volumes hold moisture longer
Problem: plants look droopy after watering
This can mean you’re watering too much, not too little.
What to do:
- Let the top layer dry slightly before watering again
- Confirm that your containers have drainage holes
- Consider switching to a better-draining potting mix if needed
Tips
- Start small. A handful of herbs teaches more than a big set you can’t manage.
- Keep your lights and placement stable once plants are established, then make changes gradually.
- Use labels so you learn herb-specific needs without guessing.
- For young plants and cuttings, prioritize warmth and good light, but avoid scorching.
- Harvest often and gently to encourage continued growth.
- If something seems “off,” don’t change everything at once. Adjust one factor, then observe for several days.
FAQ
How many herbs should I start with as a beginner?
I recommend starting with a small set you can manage comfortably. A beginner-friendly number is enough to cover what you’ll use in your kitchen without creating a lot of extra maintenance.
Can I grow herbs indoors year-round?
Yes, indoor growing can work well when you provide enough light. If your window isn’t bright enough consistently, artificial illumination can help your herbs stay healthy and productive.
What’s easier for beginners: seeds or young starts?
Young starts are often easier because they skip the earliest stage. Seeds can be great too, especially if you’re patient and can keep light and moisture consistent.
My cuttings look stressed. What should I change first?
Start by checking warmth and light. Extension guidance stresses warm locations with good sun exposure or artificial illumination, plus keeping cuttings from drying out and from being scorched by direct sunlight. Those three factors are usually the first place to look.
How often should I water herbs?
There’s no single schedule that fits every home. Instead, check soil moisture before watering. Young plants should not dry out, but containers should not stay waterlogged.
Do herbs need fertilizer?
If you’re using quality potting mix, you can often focus first on light and watering. Once you notice slow growth over time, you can consider a gentle feeding approach suited to your herb type. (Start small, and follow label guidance.)
Latest Updates or ## 2026 Trends
In 2026, more beginners are choosing “hybrid herb setups” that mix outdoor sun with indoor backup using simple containers and grow lights. This trend is mostly about reliability: indoor light support reduces the frustration of weak winter growth, while outdoor growing still gives you the easy, natural setup during warmer months. Another common trend I see is more people learning herb needs by plant families, since it helps them stop treating all herbs as if they want identical care.
References
- Gardenary. (n.d.). How to Start an Herb Garden. https://www.gardenary.com/blog/how-to-start-an-herb-garden
- The Old Farmer’s Almanac. (n.d.). How to Start an Herb Garden: A Beginner’s Step-by-Step Guide. https://www.almanac.com/how-start-herb-garden-beginners-step-step-guide
- Homestead and Chill. (n.d.). Growing Herbs 101: How to Start a Kitchen Herb Garden, Indoors or Out. https://homesteadandchill.com/grow-herbs-101-kitchen-herb-garden/
- West Virginia University Extension. (n.d.). Herb Gardening for Beginners. https://extension.wvu.edu/lawn-gardening-pests/gardening/gardening-101/herb-gardening-for-beginners
- Stacy Ling (Bricks ’n Blooms). (n.d.). How to Grow an Herb Garden: A Step-by-Step Guide For Beginners. https://stacyling.com/beginners-guide-to-growing-an-herb-garden-step-by-step-tips-for-success/

Samuel Michael
I've have been involved in Backyard Farm for over 15 years, especially livestock and market gardening. I blog at my free Time and ive My most helpful thoughts on this blog.