
The first time I tried growing basil, I thought it would be like a “set it and forget it” plant. I put a tiny basil plant on my windowsill, watered it whenever I remembered, and waited for it to turn into a huge, leafy bush. Instead, it got tall and skinny, some leaves turned yellow, and I felt like I failed a super easy assignment.
But here’s the good news: basil really is beginner-friendly once you understand what it wants. Basil is like a warm-weather friend. It loves sunlight, it likes regular water (but not soggy roots), and it grows faster when you pinch it back. In this article, I’ll explain how I grow basil now, step by step, using simple tools and beginner mistakes I learned the hard way.

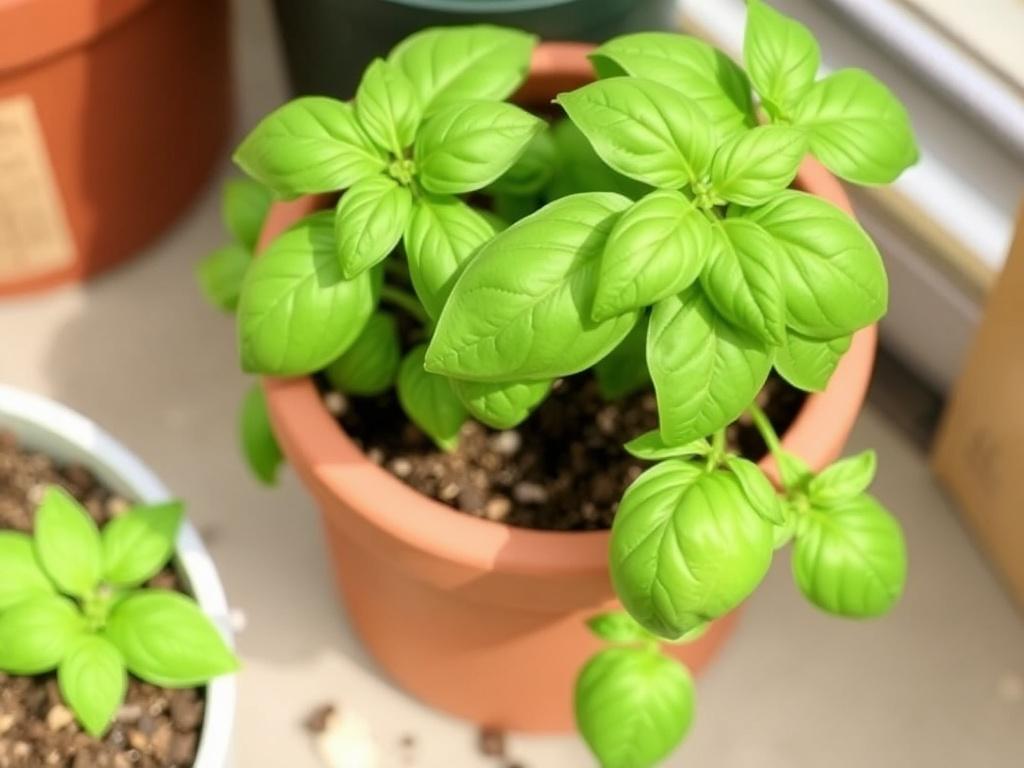
Image source: Public Domain Pictures
Step 1: I Decide Where My Basil Will Live (Indoors or Outdoors)
Before I even plant anything, I choose my basil “home.” Basil can grow indoors in a sunny window or outdoors in a pot or garden bed. I like pots because they’re easier to control. If the weather changes, I can move the plant.
Indoors is great if I have a bright window (a sunny one is best). Outdoors is great if it’s warm, because basil does not like cold. One chilly night can make basil sad fast. When I’m unsure, I start it indoors and move it outside once nights are warmer.
If you want an indoor example, this short video shows the basic idea of basil on a warm, sunny windowsill: Green Love – “Want to grow Basil INDOORS this winter? DO THIS NOW!”
Step 2: I Choose Seeds or a Starter Plant
When I’m a total beginner (or I want faster results), I buy a small basil starter plant from a garden center. When I want to save money or grow a lot, I use small basil seeds.
Here’s how I think about it: If I want basil soon, I pick a starter plant. If I’m okay waiting a bit and I want lots of plants, I pick seeds. Seeds also feel kind of magical because you see the whole story from the beginning.
If you’re curious about starting from seed, this video is a helpful beginner option: Gary Pilarchik (The Rusted Garden) – “Start Basil from Seeds…”
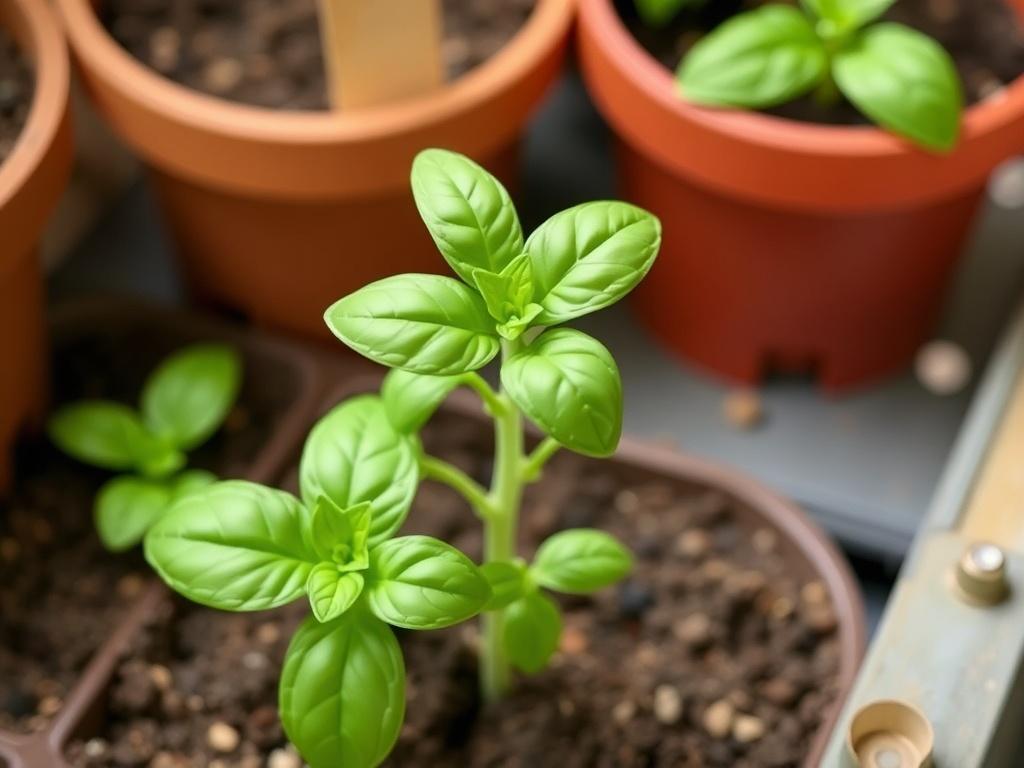
Image source: Pexels
Step 3: I Gather My Simple Supplies
I used to think gardening needed fancy stuff, but basil doesn’t. I keep it simple: a pot with drainage holes, potting mix (not dirt from outside), seeds or a small plant, and something to catch extra water (like a tray).
The drainage holes matter a lot. Basil roots can rot if water sits at the bottom. One time I used a cute mug as a pot, and it had no holes. The basil looked okay for a week, then it started drooping like it was exhausted. After that, I learned my lesson: pretty pots are great, but holes are better.
Step 4: How I Plant Basil (Seeds and Starter Plants)
If I’m planting seeds
I fill my pot with potting mix and gently pat it down (not too hard). Then I sprinkle a few seeds on top and cover them with a thin layer of soil. I mist or water lightly so I don’t blast the seeds away. After that, I keep the soil a little moist until the seedlings come up.
Once the seedlings grow a bit, I thin them out. That means I remove extra ones so the strongest plants have space. This part is hard because I feel guilty, but crowded basil turns weak and messy.
If I’m planting a starter plant
I loosen the root ball gently, place it in the pot, and fill around it with soil. I water it well, then I put it in bright light.
If you want to see container planting, this is a clear beginner video: LucasGrowsBest – “How to Plant Basil in Containers…”
Step 5: Light Is My Basil’s “Fuel”
The biggest change in my basil success happened when I took light seriously. Basil loves sun. If it doesn’t get enough, it stretches upward to search for light. That’s how you end up with tall, skinny basil with fewer leaves.
Now I do a quick check: if my basil is leaning hard toward the window, I rotate the pot every couple of days. If it still looks stretchy, I move it to a brighter spot. Outdoors, I place it where it gets lots of sun, but I still make sure it’s watered because sun + dry soil is rough.
Step 6: My Watering Rule (Moist, Not Soaked)
My beginner mistake was watering on a schedule instead of checking the soil. Now I touch the top of the soil first. If it feels dry about a finger down, I water. If it still feels damp, I wait.
I also water the soil, not the leaves. Wet leaves can lead to more plant problems. And I always let extra water drain out. If the pot sits in a puddle, the roots can’t breathe well.
Step 7: The Trick That Makes Basil Big and Bushy (Pinching)
This is the part that made me feel like I finally understood basil. Basil grows better when I pinch it. Pinching means removing the top growing tip so the plant makes two new branches instead of one long stem. More branches equals more leaves, and more leaves equals more pesto (which is the whole point in my opinion).
When my basil is around 6 inches tall, I pinch above a set of leaves. I don’t just pick random leaves from the bottom anymore. I “harvest with a plan.”
For pruning help, I like this video: Epic Gardening – “How to Prune Basil So It Grows Forever!”
Step 8: What I Do When Basil Starts Flowering (Bolting)
When basil is stressed (often from heat or age), it can start making flowers. This is called bolting. The plant is basically saying, “I’m done making leaves, I’m making seeds now.”
When I see flower buds, I pinch them off. It keeps the plant focused on leaves longer. If I actually want seeds, I let some flowers stay. But most of the time, I want the leaves to keep coming.
Image source: Public Domain Pictures
Step 9: How I Handle Common Problems (Without Panicking)
Problem: Tiny bugs (like Aphids)
If I see little bugs clustered on stems or under leaves, I don’t freak out. I rinse the plant gently with water first. If it’s bad, I remove the worst leaves. The key is to check early, because pests get harder to control if I ignore them.
Image source: Click & Grow Ask a Gardener
If you want a video about aphids on basil, here’s one option: ehowgarden – “How to Get Rid of Aphids & White Flies on Basil”
Problem: Yellowing leaves that look “dusty” (possible Downy mildew)
One basil problem I watch for is downy mildew. It can show up as yellow patches on top of leaves and darker fuzz on the underside. If I suspect it, I remove the worst leaves and make sure the plant has better airflow. I also try not to wet the leaves when I water.
Image source: Cornell University – Cornell Vegetables
Short identification video: Peterson Garden Project – “Identifying Downy Mildew on Basil”
Step 10: How I Harvest Basil Without Killing It
Harvesting is honestly my favorite part, but I had to learn not to be greedy. I don’t strip every leaf off one branch. Instead, I cut a stem above a pair of leaves, which encourages new branches to grow.
I also follow a simple rule: I try not to take more than about one-third of the plant at once, especially if it’s small. That way it can recover fast.
If you want to see harvesting quickly, this is a short, clear video: Bonnie Plants – “How to Harvest Basil”
Image source: Pass the Pistil
My Simple “Weekly Basil Routine” (What I Actually Do)
Most weeks, I do the same small actions. I check the soil with my finger. I rotate the pot so it grows evenly. I pinch the top if it’s getting tall. I look under a few leaves just to make sure no bugs are planning a takeover. Then I harvest a little and use it in food so the plant stays productive.
Basil taught me something I didn’t expect: plants don’t need perfect care. They need steady care. If I pay attention and respond early, basil forgives a lot of beginner mistakes.
Final Thoughts
If you’re a beginner, basil is a great plant to start with because it grows fast and it gives you quick rewards. Once you learn the three big ideas—bright light, careful watering, and regular pinching—you can grow a plant that keeps producing for weeks.
If you want, tell me whether you’re growing basil indoors or outdoors (and roughly what season it is for you), and I can rewrite these steps into a simple day-by-day plan for your exact situation

Samuel Michael
I've have been involved in Backyard Farm for over 15 years, especially livestock and market gardening. I blog at my free Time and ive My most helpful thoughts on this blog.

